First I drill a pilot hole through the handle with my smallest drillbit, 1.6mm. This makes sure I have the same position on both sides of the handle. Then I line up the handle under the 11mm dillbit on the drillpress table and clamp it down. I drill, using the depthstop, abound 3mm deep, so half a mm of the screw will still be protruding. Using the same setting, I exchange the 11mm drillbit for a 6mm one to make a deeper hole where the square part of the screw will be. Finally with a 4mm drillbit I go about halfway through the handle, this being the size of the threaded part of the screw. Then I turn over the handle and carefully line up the 1.6mm pilothole with the 11mm drillbit again. Drill 3mm deep, exchange for the 4mm bit and drill all the way through the handle. When you do this carefully, lining everything up as good as you can, you will end up with a perfectly straight stepped hole from both sides.
.JPG)
I hope the above text was understandable, with all the mm sizes and so on. After drilling I square up the 6mm hole with a fine chisel.
After assembling the saw and tightening the nuts, they are still protruding somewhat above the wood surface. So I use a file to make them flush. Final job is laying the handle flat on a piece of sanding paper and sanding in the direction of the length of the saw. This is how all the old saws look like, with sanding scratches on the splitnuts.
.JPG)
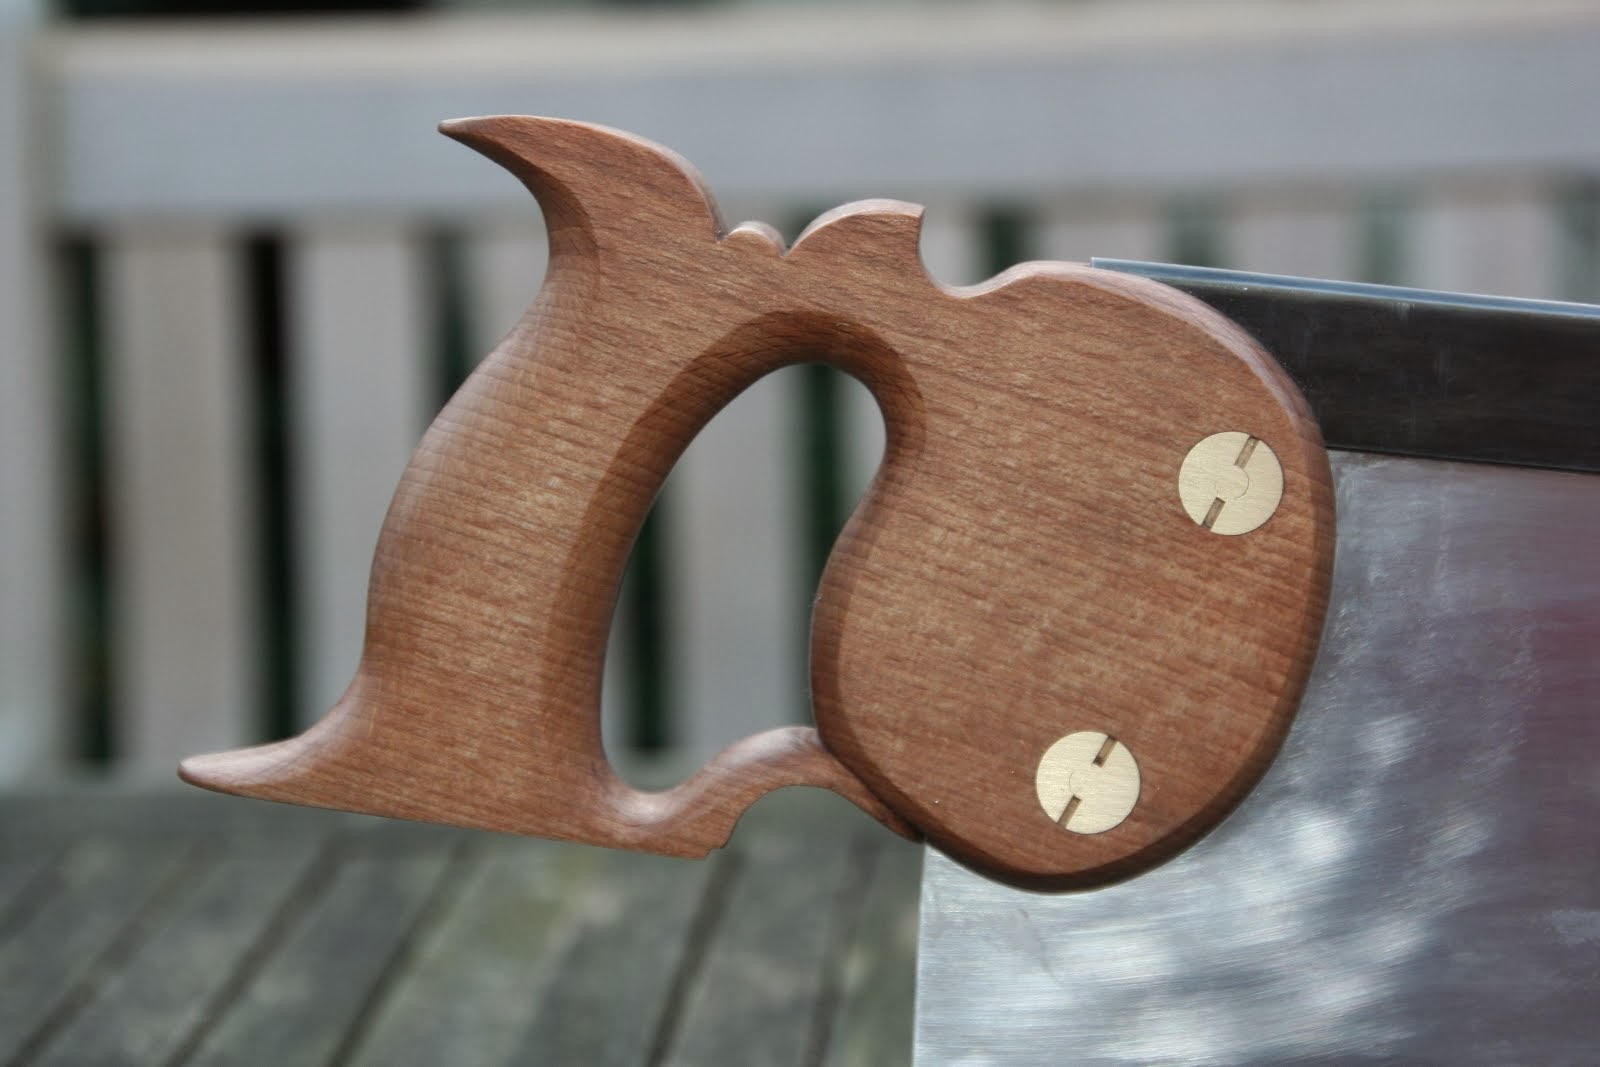
After applying several coats of oil, this is how it looks now. I can see plenty of little mistakes, but overall it isn't too bad. Next job is filing the teeth, to really make it a saw.
.JPG)
No comments:
Post a Comment